import cmdstanpy
cmdstanpy.install_cmdstan()There are innumerable ways to setup python environments. The steps below coalesce several disparate setup procedures found online and walk through an opinionated setup for:
- Installing packages to a local virtual environment with poetry
- Setting up VSCode to allow for python code to be run interactively
- Setting up external software not managed by poetry (i.e., cmdstan)
Install Command Line Tools
The following command line tools are required to replicate the opinionated setup. Instructions are given under the assumption that the user is installing from a macOS for the first time. Each item in the list contains a link to its respective setup instructions.
Setup Virtual Environment
Open up the project folder in VSCode. In existing projects, you should be in the same directory that includes the pyproject.toml file. If starting a new project, follow poetry’s instructions on creating a new project. Install the project’s version of python (if not already installed) and point the terminal to use it when in the directory by running the following:
pyenv install 3.12.9
pyenv local 3.12.9
Next, create a local virtual environment within the project. You can confirm that the correct version of python is being used by inspecting the version of the python executable in .venv/vin/. If it’s not the correct version, you can delete the .venv/ folder, set the correct python version, then re-create.
pyenv exec python -m venv .venv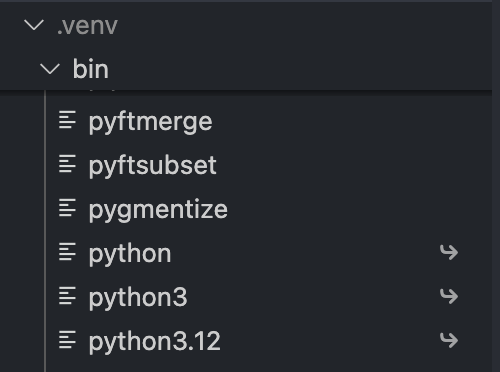
Note
It’s typically a good idea to create virtual environments within each project’s directory rather than the default location in some esoteric corner of your computer’s system folders. This makes it easy to find the virtual environment so you can browse package source code, check implied dependencies, and easily nuke the virtual environment if need be.
To run in both scripted and interactive settings, you’ll need to activate the virtual environment in the terminal and point VSCode to the correct interpreter. Activate the virtual environment in the terminal with the following command:
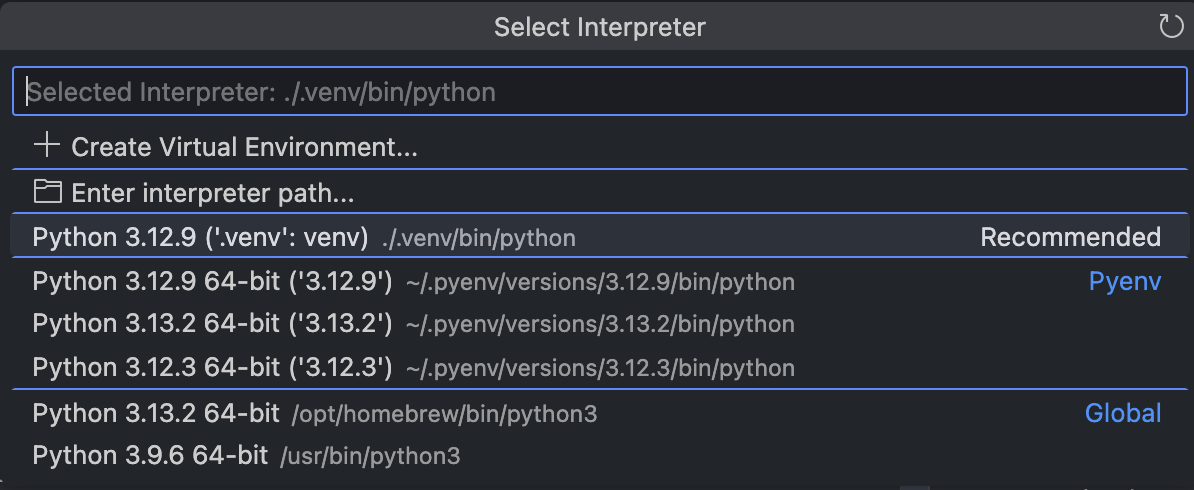
source .venv/bin/activateTo point VSCode to the same virtual environment, use the keyboard shortcut ⌘⇧P and search for “Select Interpreter.” Select “Enter Interpreter path…” and enter the path to the python executable in the local virtual environment.
By default, poetry will install packages in a difficult-to-find virtual environment. You can change the default behavior to install into the selected project environment by modifying poetry’s config settings (if you do not want to change these settings globally, you can append the command with the --local flag):
poetry config virtualenvs.in-project trueInstall Packages
To install the required dependencies to the local environment, navigate ot the directory containing the pyproject.toml file and run poetry install:
poetry installThis installs the required python packages. To run Stan, however, you’ll also need to install cmdstan and the associated C++ toolchain requirements. On macOS, cmdstan requires Xcode command line tools. Install them from the terminal with:
xcode-select --installTo install cmdstan from cmdstanpy, open a new python script and run:
Citation
BibTeX citation:
@online{rieke2025,
  author = {Rieke, Mark},
  title = {Opinionated {Python} {Setup}},
  date = {2025-04-16},
  url = {https://www.thedatadiary.net/posts/2025-04-16-opinionated-python-setup/},
  langid = {en}
}
For attribution, please cite this work as:
Rieke, Mark. 2025. “Opinionated Python Setup.” April 16. https://www.thedatadiary.net/posts/2025-04-16-opinionated-python-setup/.